|
PowerPoint Format
| ||
https://docs.google.com/a/sbregional.org/presentation/d/1tG_lZZwhnhwhYKLi5n1DxoYevXstUv36hT5lR1HvGz0/edit?usp=sharing
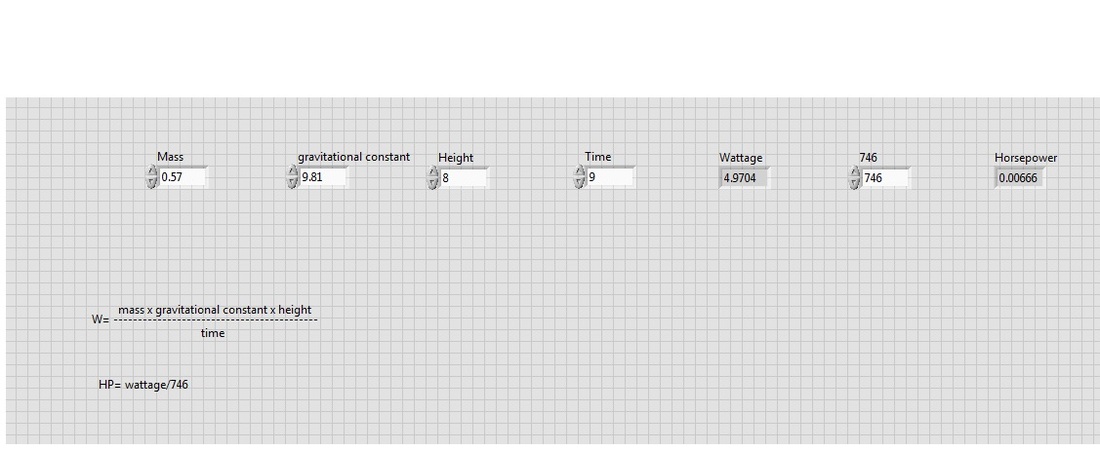
Horsepower
Ball Bot
1.) This was the original building start for our ball bot. It has the two motors set up that will power the robot.
2.) We assembled a back wheel to help keep the robot stable. We added a motor on top to power the part of the robot that will transfer the ball throughout the match.
3.) Our first prototype had a shovel design . This design didn't work out because the motor would power the structure but when that went up, the shovel part would face down resulting in it not being able to hold the ball.
4.) We took the shovel off and tried a more simple design. It scooped up the ball well but didn't hold it well enough so we added to the design.
5.) To the original design we added a couple of pieces that would stop the ball from sliding when it was lifted. We also added the shovel design again as a stopper instead of a shovel.
Sumo Bot
Engineering PowerPoint steps
|
Step 6.
1 2 3 4
https://www.youtube.com/watch?v=yn0uiaLehFY
|
Step 1. Design build and program a robot to be the last robot standing on the box after trying to push the other robot off.
Step 2. Research and assess the problems.
Step 3. 3 things we learned from the research were that in order for the design to be strong we would need to make sure each Lego piece is tightly secure.We also geared our wheels to provide further traction and resistance against other robots by putting gears alongside the wheel making the power rating higher.We also wanted to protect our wheels so we placed pieces on the axle to prevent other robots from hitting our wheels and causing a possible spin out.We also had to figure out a way to make our robot capable of flipping there robot over or at least stopping it in its tracks. Step 4. Design Solutions Design Pro #1. We built a battering cage on the front of the robot in order to be able to drive the other off the table. Design Con #1. A con of the cage was that it overall proved to be less efficient than we predicted. Design Pro #2. We geared the wheels with 2 small gears to make the robots torque and power ratings higher. Design Con #2 This dramatically slowed down the robot but still was efficient. Design Pro #3 For the final major part of our design we took off the wheels that were not connected to the motor and instead put bars so that it rested against the ground.With the wheels on we were unable to make complete turns and after we removed them it worked good. Design Con #3 A con of this part of the design was that the robot had slightly less stopping power and could slide easier with less tires gripping the ground. Step 5. see next step Step 6. slideshow to the left 1. The first picture was the starting point for doing the sumo bot. It was our robot from the last challenge that needed improvements. 2. In the second picture we took off the cage from the previous challenge because it was too vulnerable for the contact that it was gonna take. We added two tires to the back of the robot that were bigger than the tires we used previously. 3. In the third picture we decided to put on a cage. This was a different cage than the one we used in previous challenges. The design was to stop the opponent from flipping it over and pushing it off the structure. 4. In the fourth picture we made a different cage. The previous cage was to weak so we built a new cage that stopped the opponent farther away and that was stronger. We also took the front wheels off to help the robot turn more easily. Redesign. If we were to do this over again we would build a robot that was stronger when taking impact from other robots. We also would add more gears to make it more stable and we would want the robot to be more efficient when turning. We learned how to gear a robot and that the size of gears impact the stability and speed of the robot. |
FaceTime Bot
Engineering PowerPoint Steps
|
Step 6.
https://www.youtube.com/watch?v=OQCdp06lPYI
|
Step 1. The problem was to design and build a robot capable of doing a task of our choosing. We chose to do a FaceTime bot.
Step 2. Sites that were useful when building our robot included:
Step 3. One thing we learned from our research that to build a strong robot we need to make the robot wider and have the wheels tightly secured to the motors. Another thing we learned was that we had to build some kind of cage to keep the iPhone in place while it acted as our FaceTime source. The last thing that we learned was that the robot would be best suited without a wheel in the back so it would turn more easily. Step 4. Design Pro #1. We built an overhang design to hold the iPhone in place and it worked successfully. Design Con #1. A con of the design was that it added extra weight to the robot. Design Pro #2. We used the sensors to hold the iPhone and we were able to wrap the port connectors around them. Design Con #2 This idea didnt really have any cons. Design Pro #3 We built a design consisting or regular legos that was placed in the spot of where the back wheel would be, except this design made the robot turn easily. Design Con #3 A con of this part of the design is that it got stuck sometimes and got in the way of the battery. Step 5. see next step Step 6. slideshow below 1. In the first picture, it was our starting point with just the battery pack. 2. In the second picture, we added the back design which helped improve the steering and turning ability of the robot. 3. In the third picture, we added the motors to the side of the battery pack in a different design that we usually do. On the motor we put a sound sensor to help hold the iPhone. 4. In the fourth picture, we added the overhang design. On the design was a sensor that held the top of the iPhone. On the side of the design was a lego piece that held the iPhone upwards so we could see where it was going. 5. In the fifth design, we put the iPhone in and attached the port cables. This was the final design and the one we used in our video. For our next assignment we were tasked with building another line follower robot.For our design we mounted the laser to the front of our nxt robot.We then mounted the two motors at 90 degree angles and put wheels on them. |
NXT Robot Olympics
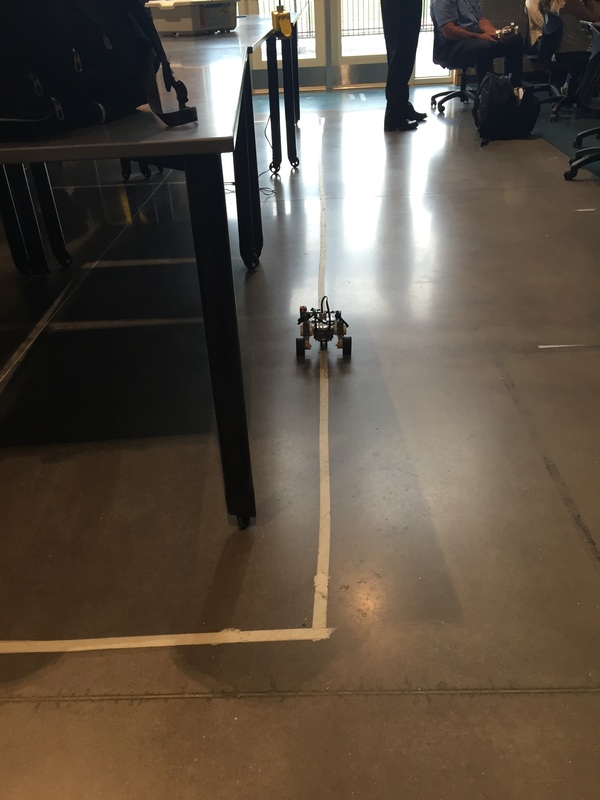
This week Nathan and I created a bot that was able to follow a line .At the end of the sequence the robot picked up the ball and placed it in a cup.
TERM 4
NXT Robot Maze Runner
NXT Robot Box Bot
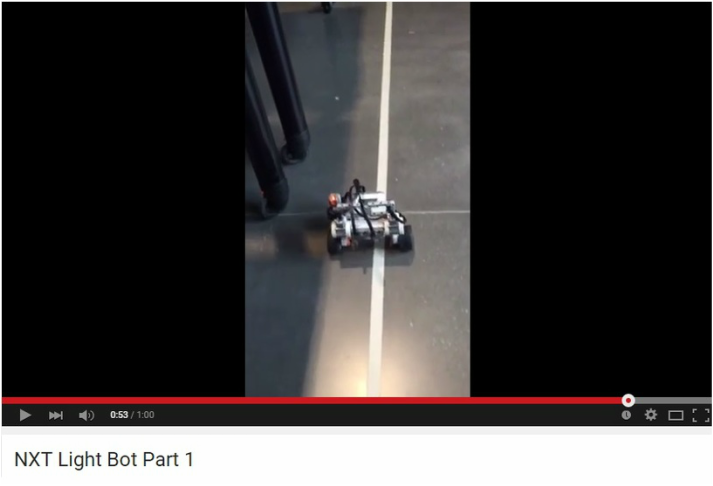
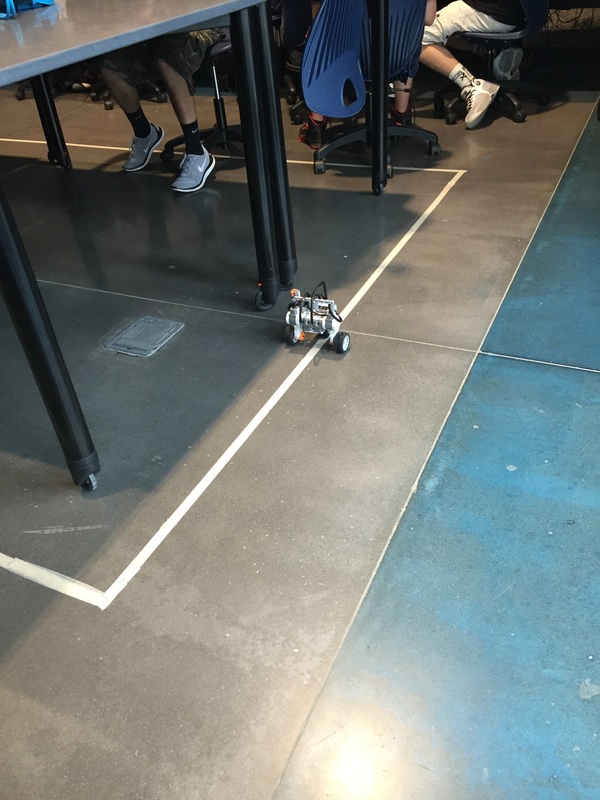
NXT Light Bot
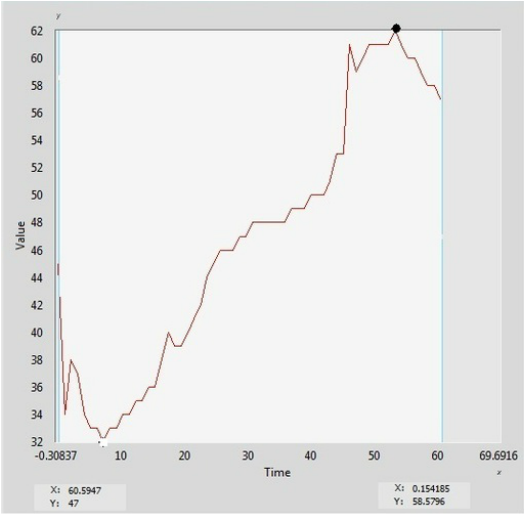
LEAST LIGHT
The least amount of light is taken at 7 seconds which is located in "NXT Light Bot 1".
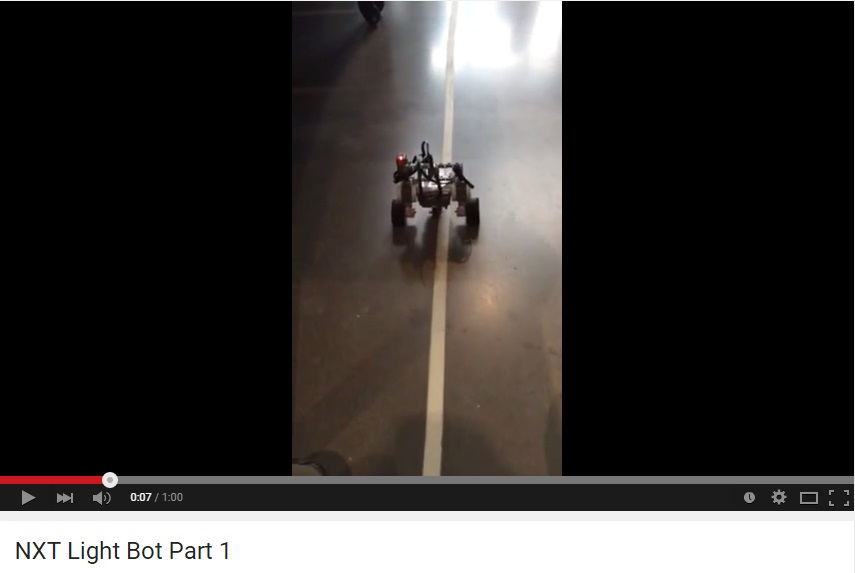
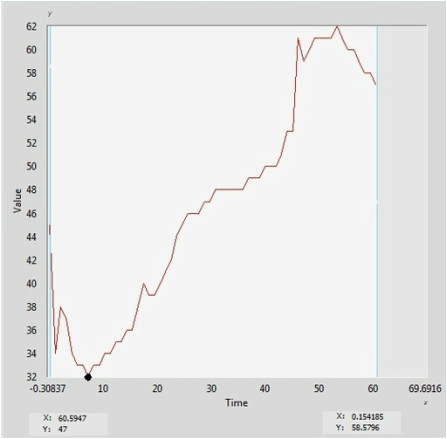
MOST LIGHT
The most amount of light is taken at 53 seconds which is located in "NXT Light Bot 1".